

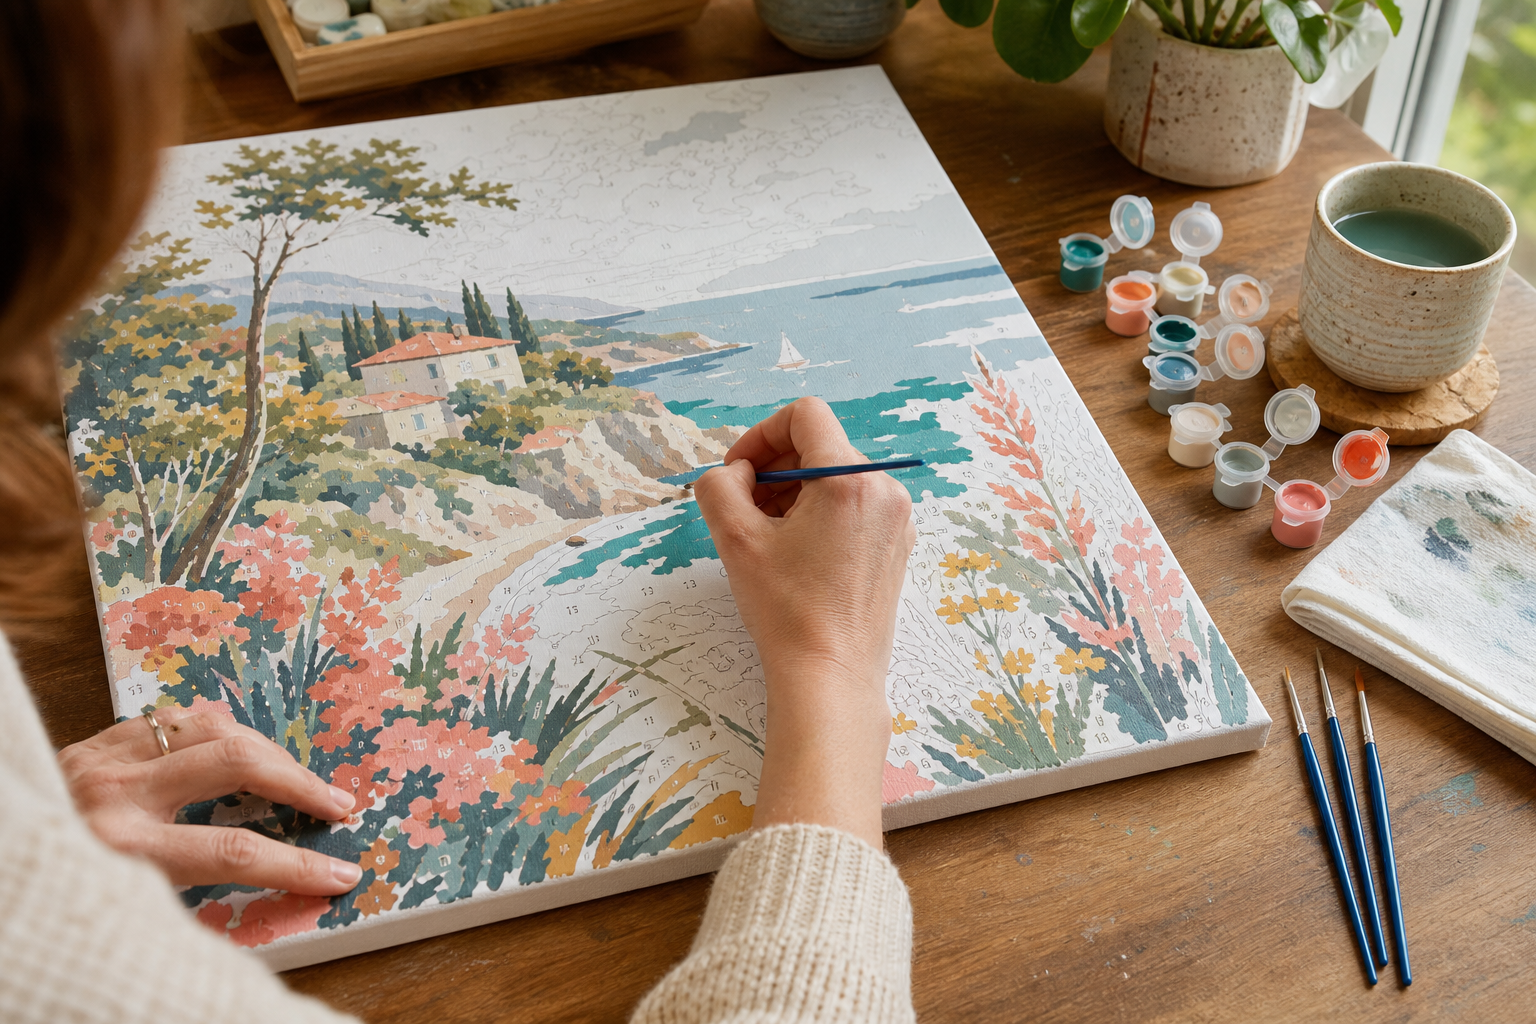
Paint by numbers is designed to make painting approachable, but a polished result still depends on a few small decisions: how you load the brush, where you begin, how long you leave a paint pot open and when you add a second coat. This beginner guide explains the process step by step, including simple fixes for the three frustrations painters mention most often: streaky color, tiny white gaps and acrylic paint that becomes too thick.
Quick answer: how do you make paint by numbers look smoother?
Use a small amount of paint, keep the brush damp rather than wet, work from larger areas toward smaller details and let each layer dry before judging its coverage. Paint just over the printed boundary so no white canvas shows between adjacent colors. Close every paint pot as soon as you finish with it. If a color remains translucent after drying, apply one thin second coat instead of one heavy coat.
Match the fix to the paint problem
- Ridges appearing as you brush: stop working that patch; let it dry before a light correction coat.
- A number showing through dry paint: apply another thin coat to that area rather than flooding it.
- A thin white line between colours: turn the canvas and work along the boundary with the brush tip.
- A sealed pot that is already hard or contaminated: contact the supplier about replacement instead of mixing unknown additives into it.
1. Set up the canvas before opening the paint
Work on a flat, firm surface with good daylight or a neutral desk lamp. Place clean water, a lint-free cloth and the brushes within easy reach. Photograph the numbered canvas before you start; the photo becomes a useful reference if a printed number is covered before the neighbouring area is complete. Keep food, drinks and loose sleeves away from the working area.
2. Start with a section you can finish comfortably
There is no universal rule requiring painters to begin with the darkest or lightest color. A practical approach is to select one medium-to-large area near the top of the canvas and complete nearby shapes that use the same color. Working from top to bottom reduces the chance of resting your hand on wet paint. Completing one color at a time also limits how often pots need to be opened.
3. Use the right amount of paint
Dip only the lower third of the bristles into the acrylic. A brush overloaded to the metal ferrule is harder to control and more difficult to clean. Spread the paint with short, confident strokes, then lightly pass over the area in one direction while it is still workable. Avoid repeatedly brushing paint that has started to set; that is a common cause of ridges and patchy texture.
4. Prevent white gaps along printed borders
Canvas texture can remain visible where two colors meet. Instead of stopping exactly at the printed line, carry the first color a fraction beyond it. The neighbouring color will overlap that edge later. For tight corners, turn the canvas so the brush naturally points into the shape. A fine brush and steady hand matter more than speed.
5. Build coverage with thin coats
Some yellows, reds and pale colors are naturally less opaque than darker pigments. Let the first coat dry completely, then add a second thin layer only where needed. A heavy coat may cover the printed number faster, but it can form a raised patch and hide fine texture. Two controlled layers usually look more even than one thick application.
6. Keep acrylic paint workable
Open one pot at a time and close its lid fully using the closure provided. If the paint is still fluid but feels thick, follow the kit maker's instructions before thinning it. Do not treat advice for a different acrylic formula as a recipe for your kit. GOLDEN's dilution research, for example, explicitly limits its conclusions to its tested paints and surfaces. If paint is completely hard, contaminated or has an unusual odour, contact the supplier rather than adding household chemicals.
7. Clean brushes without damaging the tip
Rinse before acrylic dries in the bristles. Swirl the brush gently in water rather than crushing it against the bottom of the cup, blot it on the cloth and reshape the point with clean fingers. Change cloudy water frequently, especially when moving from a dark color to a light one. Never leave a brush standing on its bristles.
8. Correct mistakes after they dry
Do not chase a wet mistake across the canvas. Let it dry, then cover it with the correct color in one or two thin coats. If a boundary needs sharpening, use the smallest brush and paint from the clean area toward the edge. For an overlooked number, refer to the photo you took at the start or compare the surrounding color pattern.
9. Take breaks and review from a distance
Acrylic dries quickly, but fatigue makes fine details harder. Pause every 30 to 45 minutes, close the paints and view the canvas from several feet away. Small variations that look dramatic up close often blend into the complete image. Save final touch-ups until every numbered area is covered, so you can correct only what affects the overall result.
Choosing a beginner-friendly kit
Look for a clearly printed canvas, a manageable number of small sections and a subject you genuinely want to finish. Confirm the included canvas size, brush set and package contents on the current product page. For one design to inspect, see the Zozobra – Santa Fe kit. Check its selected size, contents and image detail before ordering; the design name alone does not establish its difficulty.
Frequently asked questions
Should you wet the brush before paint by numbers?
Yes, then blot away excess water. A slightly damp brush can improve flow; a dripping brush dilutes acrylic and reduces coverage.
Do you paint light or dark colors first?
Either can work. Beginners often find it simpler to work top to bottom and complete nearby areas of one color, which reduces hand contact with wet paint and keeps fewer pots open.
Can you paint over the printed numbers?
Yes. If a number remains visible after the first coat has dried, apply a thin second coat. Pale colors may need more coverage than dark colors.
How do you store an unfinished kit?
Close all paint pots firmly, rinse and reshape brushes, and keep the canvas flat in a dry, dust-free place away from direct heat and sunlight.
Final checklist
- Photograph the blank numbered canvas.
- Work with one open paint pot at a time.
- Use thin coats and allow drying between layers.
- Overlap boundaries slightly to prevent white gaps.
- Rinse brushes before acrylic dries.
- Review the complete painting from a distance before touch-ups.
The best first project is not the most complicated design—it is one you will enjoy returning to. Careful setup, thin layers and clean tools do more for the finished result than rushing to cover every number in one sitting.
Plan the next session
For time planning rather than brush technique, use our paint-by-numbers time estimator. When you finish, the finished-artwork photography guide explains how to keep a useful record.